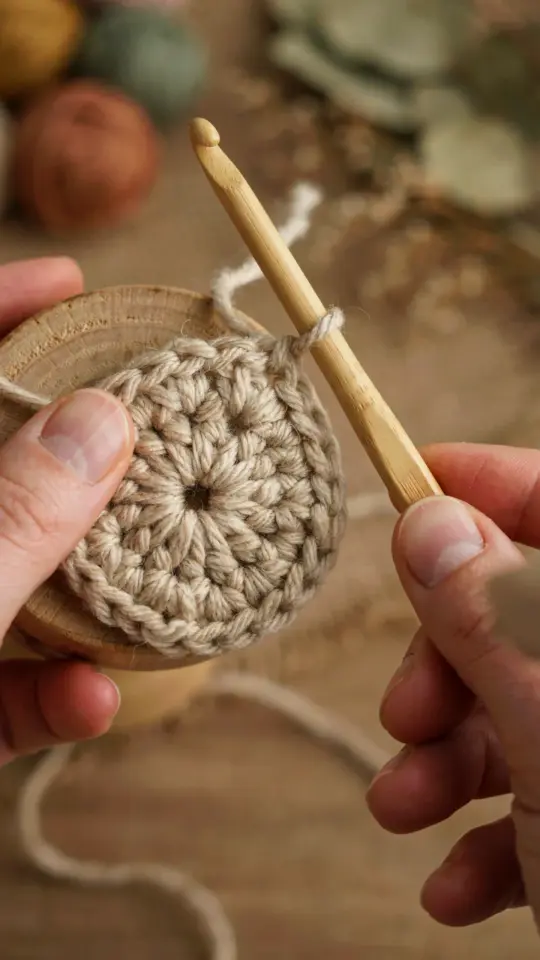
I have made more than my fair share of wobbly, lopsided, and frustrating bottle cap crochet projects. You pick up a soda cap thinking it will be a quick zero waste craft, and then the yarn refuses to stay put or the edges curl like a taco. After a lot of trial and error (and a few caps thrown into the recycling bin in frustration), I learned exactly where beginners go wrong. This post walks you through the most common mistakes I see with upcycled crochet bottle cap crafts, and more importantly, how to fix them so your next project actually looks like something you want to show off.
Choosing the Wrong Yarn for Your Bottle Cap Crafts
The very first mistake is grabbing whatever scrap yarn you have without thinking about weight and texture. I love using up leftovers, but a super bulky wool on a small metal cap looks clunky and refuses to lie flat. Conversely, a thin lace weight thread leaves gaps that show the bottle cap underneath and makes the project feel flimsy.
For most bottle cap crafts, a worsted weight cotton or acrylic works best. Cotton holds its shape nicely and does not stretch out over time. If you want a stiffer finish for coasters, go with a cotton blend. If you want a softer ornament, try a sport weight yarn. Test a few rounds on one cap before committing to a whole batch. That ten minutes of testing saves you from ripping out entire projects later.
Skipping the Prep Work on Your Caps
I used to grab a bottle cap straight from the sink, dry it with a towel, and start crocheting. Big mistake. Caps often have sharp edges from the crimping process, and leftover soda residue makes your stitches slippery. I once made a whole set of coasters that smelled faintly of cola after a week because I had not cleaned them properly.
Here is my simple prep routine:
- Soak caps in warm soapy water for five minutes to remove sugar and grime.
- Dry them thoroughly with a cloth, then let them air dry for an hour.
- Use a small file or sandpaper to gently smooth any rough edges along the rim.
- If you want a clean look, spray paint the caps with a primer or color that matches your yarn. Let them cure for at least 24 hours.
Prepped caps hold your crochet stitches evenly and do not cut your thread as you work. That single step transforms the whole experience.
Using the Wrong Hook Size
New crocheters often pick a hook that matches their yarn label without thinking about the rigid surface they are working on. The metal cap does not give like fabric does, so your hook needs to slide smoothly through the edge holes. A hook that is too large creates loose loops that slip off, and a hook that is too small makes every stitch a battle.
I recommend starting with a 3.5 mm or 4 mm hook for worsted weight yarn. If you are using a thinner thread, go down to a 2.5 mm. Test a single round: the stitch should sit snugly against the cap without distorting the metal. You should feel resistance but not a fight. Adjust up or down one size until the rhythm feels natural.
Making the Stitches Too Tight or Too Loose
Tension is the number one reason your bottle cap crochet looks uneven. Too tight, and the cap buckles inward. Too loose, and your stitches sag away from the rim. I learned this the hard way when I made a set of ornaments that looked like deflated balloons instead of neat little discs.
The trick is to keep your tension consistent but slightly relaxed. Pull the yarn just enough to close the stitch without yanking. You are crocheting around a solid object, so you cannot rely on the fabric to stretch and compensate. Practice on a spare cap until your tension feels automatic. If you notice curling, loosen up. If you see gaps, tighten a hair. You will find the sweet spot after a few tries.
One tip that helped me: hold the cap between your thumb and middle finger while crocheting, and use your index finger to guide the yarn over the edge. That little bit of control stops accidental tugs.
Forgetting to Secure the Ends Properly
You finish your cute little coaster, snip the yarn, weave in the end for three seconds, and move on. A week later the tail pops out and the whole thing unravels from the starting point. Bottle cap projects put a lot of stress on the beginning slip knot because it is anchored to a slippery metal surface.
Take the extra minute to secure both ends. Leave a longer tail (at least six inches) when you start, and after weaving it through several stitches, dab
#UpcycledCrochet #BottleCapCrafts #YarnCraftDIY #ZeroWasteCraft #CrochetRecycling
Leave a Comment