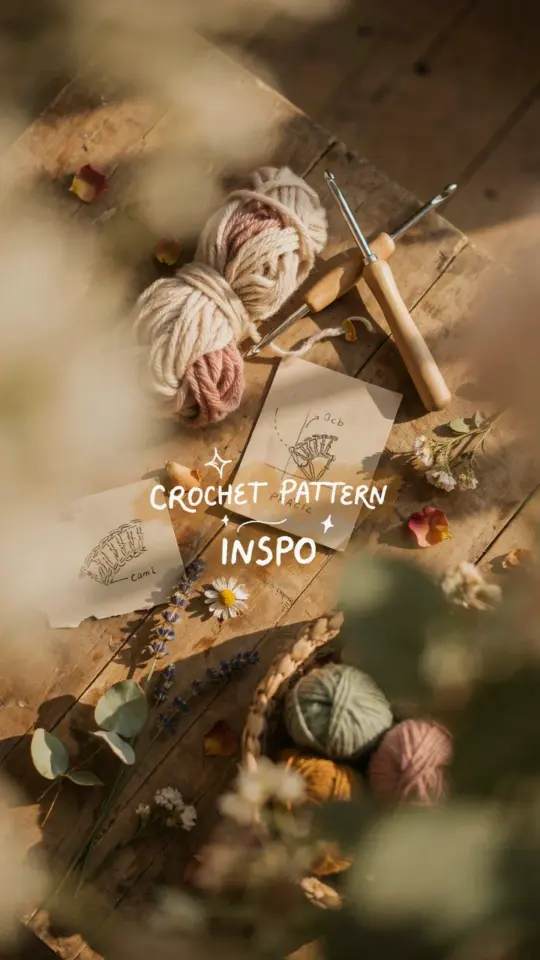
Honestly, I never thought I’d get this obsessed with crocheting hair accessories. But here we are on day 7 of my crochet challenge, and I just finished making the cutest little fluff ball of a crochetscrunchie. The before and after is genuinely wild. You go from a plain old elastic hair tie lying around your bathroom drawer to this soft, chunky scrunchie that looks like it cost twenty bucks at a boutique. I’m not gonna lie, I squealed a little when I held it up next to the original elastic. It’s that satisfying.
Why Make Your Own Crochet Scrunchie Instead of Buying One?
Look, you can absolutely buy a scrunchie for two dollars at a drugstore. But there is something deeply weird and wonderful about making one yourself. You get to pick the exact color, the exact yarn texture, and you know nobody else will have the exact same scrunchie. Also, it’s a ridiculously fast project. Like, you could finish one while watching a single episode of a show. Maybe even two if you are slow like me.
There is a specific satisfaction in wrapping your own stitches around that elastic. It feels a bit like magic. You take a string and a hook and a bit of stretchy fabric, and you transform it into something you actually want to wear. Plus, handmade scrunchies are gentler on your hair than those tight metal-spring ones. Less breakage, less pulling. I have fine hair that tangles if you look at it wrong, and this crochet version barely snags.
And here is a weird personal detail: I have a small obsession with the sound a crochet hook makes when it slides through cotton yarn. It’s a soft little ‘thwip’ sound. Weird, I know. But that sound paired with watching the scrunchie grow round and plush? That’s my kind of therapy.
Materials You Actually Need (Keep It Simple)
Ok so here’s the thing. For this easy beginnertutorial, you do not need a fancy kit or a dozen different tools. I am using exactly four things. That’s it. If you have more, great. But don’t let a long list of supplies stop you from starting.
- Yarn: Any worsted weight yarn (size 4). I used a cheap acrylic blend in a dusty rose color because I am basic and I love it. Cotton works too, but it’s less stretchy.
- Hook: A 4.5mm hook. That is my favorite size for this project. Not too big, not too small. It makes nice tight stitches without cramping your hand. If your yarn is slightly thicker, you could go up to 5mm. No big deal.
- Hair elastic: A plain, thin elastic hair tie. Preferably one that is not already covered in fabric. The thinner the better because you will wrap stitches around it. I dug one out of an old pack that had been sitting in my glove compartment for two years. It worked fine.
- Scissors and a tapestry needle: Just to cut yarn and weave in the tail. A regular sewing needle can work in a pinch, but the blunt tip of a tapestry needle is nicer for sliding through yarn.
That’s it. No stitch markers, no fancy block mats. Just the basics. I honestly think the simplicity is part of the charm. You don’t need to plan much. Just grab your stuff and sit down somewhere comfortable.
The One Stitch You Need to Know (and It’s Dead Simple)
If you have never crocheted before, this might be your first project. That is totally fine. The only stitch you use here is the single crochet. That’s it. One stitch repeated in a circle. No increasing, no decreasing, no complicated patterns. I am not exaggerating when I say that if you can make a slip knot and pull a loop through another loop, you can make this scrunchie.
Single crochet is the shortest, most basic stitch. It creates a dense, tight fabric that wraps nicely around the elastic. You do not want a lacy stitch here because the elastic will peek through. You want solid, cozy coverage. Single crochet gives you that. It also makes the scrunchie feel thick and cushiony, like a tiny pillow for your ponytail.
If you are following along with my YouTube video (which goes live June 8th, by the way), I show the motion super slow. But honestly, you can learn this stitch in two minutes from a still photo. Make a chain, insert hook into the chain, yarn over, pull through, yarn over again, pull through two loops. Done. That is single crochet.
How to Attach Yarn to the Elastic (Tricky but Worth It)
This part is the most intimidating for beginners. Do not panic. You are basically going to crochet directly around the elastic, covering it stitch by stitch. The method I use: make a slip knot on your hook, then insert the hook under the elastic, yarn over, and pull up a loop. Then yarn over again and pull through both loops on the hook. That’s your first single crochet wrapped around the elastic.
You keep doing that. All the way around. It looks a bit messy at first. The stitches might feel loose or uneven. That is normal. Here is a human thing: I actually like when the first few stitches look a little wonky, because then I get to watch them tighten up as I go. It’s like watching a messy room get organized in slow motion.
When you get to the end of the elastic, just join the last stitch to the first stitch with a slip stitch. Then chain one and start a second round. That second round is where the magic happens. You work single crochet stitches into the top of each stitch from the first round, and suddenly the scrunchie puffs out. It fills in the gaps and becomes a tube. A fluffy, squishy tube.
One thing I learned the hard way: do not pull your stitches too tight around the elastic. If you do, the scrunchie won’t be able to stretch when you put it in your hair. Just keep a normal, relaxed tension. The elastic needs room to move inside the yarn casing.
How Many Rounds Should You Make? (It Depends)
I did two rounds of single crochet around my elastic. That gave me a scrunchie that is about an inch and a half wide (folded). Some people do three rounds for a super chunky look. But I found that three rounds makes it a little too heavy for my hair. It droops. Two rounds is that Goldilocks zone.
But here is the thing. If you are using a very thin elastic, you might want three rounds to fully cover it. If your elastic is thick, one round might be enough. My advice: start with two rounds. Look at it. If you can still see the elastic peeking through, add a third round. If it looks perfect, fasten off and weave in your ends.
I also want to say that the scrunchie will look flat and a bit sad while you are crocheting the first round. Do not judge it until you finish the second round. That second round is the ‘after’ part of the before and after. It transforms from a sad little caterpillar into a plush butterfly. Ok, maybe not a butterfly. A plush caterpillar that lives in your hair. That works.
Finishing Touches and Weaving in Ends (Don’t Skip This)
When you fasten off, leave a tail about six inches long. Thread that tail onto your tapestry needle. Weave it through the back loops of the stitches on the last round. Just a few passes back and forth. Snip the excess. Do the same with the starting tail if you have one.
I used to be lazy about weaving in ends. I would just tie a knot and hope for the best. That works for maybe a week, then the yarn starts poking out. It looks sloppy. Take the extra two minutes to weave. It makes the finished piece look polished and professional. Plus, it feels nice to run your fingers over a smooth join with no bumps.
After you weave, give the scrunchie a gentle stretch by pulling it over your hand a few times. This helps the stitches settle around the elastic. Then just fluff it up with your fingers. That’s it. You are done.
Wear It, Gift It, or Make a Bunch
This pattern is so fast that you can make three or four in an evening. I made one for my sister, one for my coworker, and one for myself (the dusty rose one, my favorite). They make excellent little gifts for people who appreciate handmade things. They also pack flat in a suitcase, so they’re great for travel.
If you want to get fancy, you can switch colors between rounds, or add a thin stripe of a contrasting color. I tried a lavender and white version and it looked like a little cloud. Not bad. But honestly, even a solid color with basic yarn looks impressive because of the texture. The single crochet creates a nubby, bumpy surface that catches the light differently than knitted fabric.
Sometimes I just hold the finished scrunchie and squish it. Weird habit. But it’s one of those little handmade objects that gives a burst of happy every time you see it on your wrist.
Anyway, I hope you give this a try. It’s the kind of project that reminds you why you started crocheting in the first place. Fast, satisfying, and useful. I’d love to see what colors you pick. Drop a comment or tag me on social if you make one. And don’t forget, the full step-by-step video is on YouTube on June 8th. See you there, hook in hand.
#crochetscrunchie #easycrochet #beginnertutorial #scrunchietutorial #crochetlove
Leave a Comment