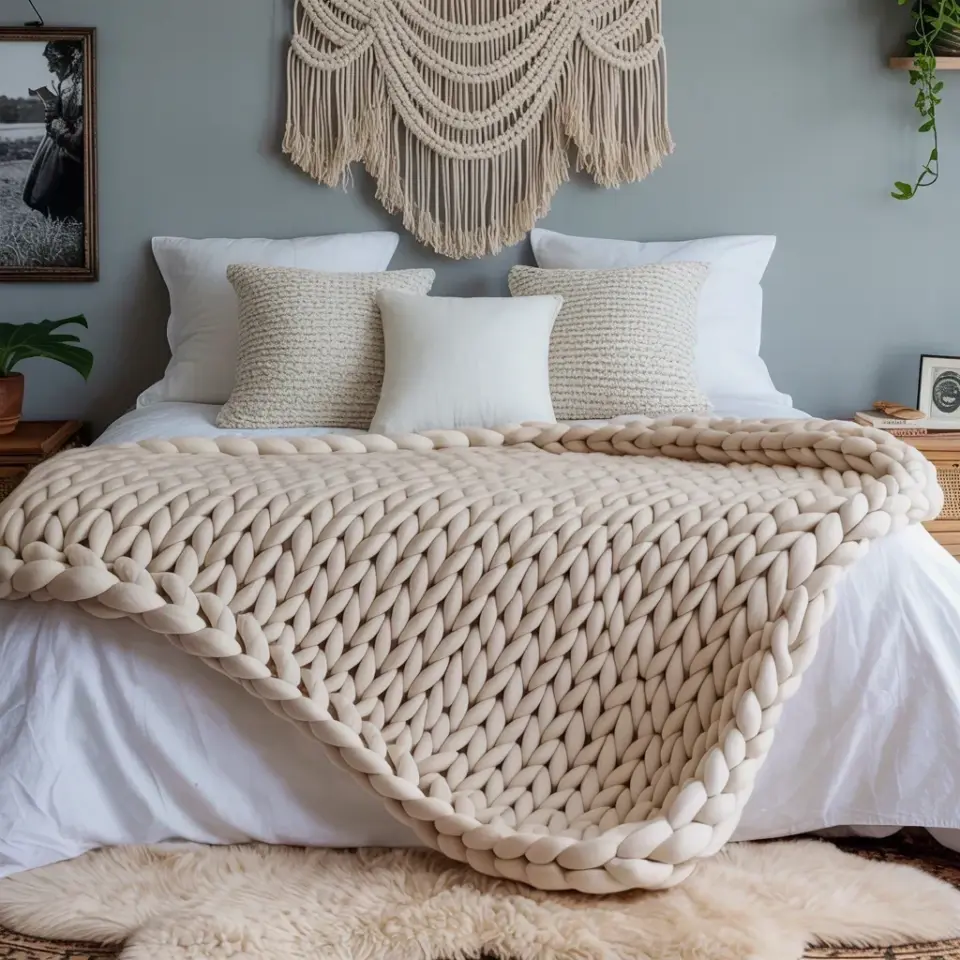
Right now, there’s a string of fairy lights sitting in the bottom of your craft drawer, the kind you bought on a whim and never actually hung up. They’re fine on their own, but they’re a little plain, a little sad. This crochet flower vine fairy lights pattern changes that completely, and it’s the exact kind of project that makes a cottagecore bedroom actually feel like a cottage instead of just a room with a plant in it.
I stumbled onto this idea while trying to fix a broken string of battery lights. The plastic casing was ugly, so I wrapped a crochet chain around it. Then I added a flower. Then another. Three hours later I had a whole vine dripping with little blossoms, and my cheap fairy lights looked like something from a woodland wedding. Honestly, the best part is how beginner friendly it is. You don’t need complicated stitches or perfect tension. You just need a hook, some yarn, and a bit of patience.
Why This Flower Vine Feels So Cottagecore (And How to Make It Yours)
There’s something about combining a natural, textured crochet vine with the warm glow of tiny lights that instantly softens a room. The shadows dance through the yarn. The light filters through the petals. It’s not just decoration, it’s a whole mood.
For cottagecore specifically, the secret is in the color palette. Go with cream, sage green, dusty rose, and butter yellow. Those muted tones look like they belong in an old farmhouse. A bright neon purple would totally break the spell. And for the vine itself, I like using a worsted weight cotton yarn because it holds its shape without feeling stiff. You can also mix in a strand of mohair for a fuzzy, hedgerow effect, but that’s a little more advanced.
- Use a 3.5mm or 4mm hook for most worsted yarns
- Choose lights with a thin wire, not the thick plastic-covered type
- Battery powered lights work best so you don’t have to hide a plug
- Crochet the flowers separately, then attach them, faster and less fiddly
Take your time with the color choices. I once used a bright coral and it looked like a beach party, not a forest path. Stick to muted, earthy tones and you can’t go wrong.
Picking the Right Yarn for a Soft Glow (and a Happy Hook)
Not all yarn is created equal when it comes to fairy lights. Thick, chunky yarn will block most of the glow, leaving you with a vine that’s basically just a scarf in the dark. You want something light, airy, and slightly heat resistant. Cotton and bamboo blends are my top picks.
Here’s a weird little thing I learned the hard way: acrylic yarn can melt if it touches a hot bulb too closely. Most fairy lights run cool now, but if you’re using older incandescent ones, keep the yarn a few millimeters away. Don’t wrap the chain too tightly around the bulb itself. Leave a tiny gap so the light can actually escape.
For the flowers, I use a fingering weight yarn and a 2.5mm hook. The petals come out delicate and lace-like. But if that sounds too fiddly, a worsted weight yarn with a 4mm hook makes bigger, chunkier blossoms that still look lovely. It’s your call. My only real advice is to test one flower first and see how it reflects light before you commit to the whole vine.
The Flowers: A Simple Ring That Grows Into a Vine
Ok, here’s the actual pattern. Start with a magic ring. Chain two, then work five single crochets into the ring and pull it tight. Slip stitch to join. That’s the center of your flower. Then for each petal, chain three, make three double crochets into the same stitch, chain three, and slip stitch into the next stitch. Repeat five times. That gives you a little round flower with five petals.
Make about a dozen of these. I know it seems like a lot, but they work up in under two minutes each once you get the rhythm. Then you make the vine itself. Chain a long strip, maybe 120 chains for a four-foot strand of lights. Then row two: single crochet in the second chain from the hook, then chain three, skip three chains, single crochet in the next. Repeat all the way down. That gives you a zigzag edge where the flowers will perch.
Sew each flower onto a zigzag dip. I find a little trick works wonders: thread the flower stem through the chain before you attach it. That way the flower sits right on top of the yarn, not flopping sideways. Secure with a few tiny stitches and weave in the ends.
Wrapping the Vine Around Your Fairy Lights Without a Tangled Mess
This is the step that makes or breaks the whole project. If you just wrap a crochet chain around the wire, it slides around and bunches up. You need a spiral wrap method. Start at the base of the light string and work your way up, twisting the vine around the wire at a 45 degree angle.
As you go, hook the vine between the lights, not over them. The bulbs should poke through the gaps in your zigzag. That way each flower sits right below a bulb, like it’s holding the light in its lap. Honestly, that’s the look that makes people ask where you bought them.
For a firm hold, use a hot glue gun and dab a tiny dot of glue every six inches. Just don’t glue over the battery pack or the switch, you’ll want to access those. And if you use battery lights that have a timer, leave the timer button exposed. I learned that one after spending fifteen minutes trying to turn mine on through a blob of yarn.
Hanging Your Crochet Flower Vine in the Coziest Spots
Above the headboard is the classic spot, and for good reason. The glow feels like a reading lamp but softer. You can also drape it along a curtain rod, letting the vine cascade down the fabric. That works beautifully in a nursery, especially if you use pastel pink and white flowers.
Another idea: wrap it around a circular mirror or a rustic wooden hoop. The combination of the woven texture and the light creates a dreamy halo effect. I have mine draped over the corner of a bookshelf, right next to a stack of old paperbacks and a dried lavender bundle. It looks like a little fairy grove in the corner of my apartment.
For a forest themed corner, add a few crochet leaves between the flowers. Just make a simple leaf shape with a chain and single crochets. And don’t forget the ceiling. A lightweight vine hanging from a ceiling hook in a gentle curve feels incredibly magical, like morning glories growing down the wall.
Tweaks for a Nursery, a Reading Nook, or a Gift Box
If you’re making this for a baby’s nursery, skip the small detachable flowers. They can become choking hazards if they fall off. Instead, work the petals directly into the vine with a continuous pattern, no sewing, nothing loose. Use a softer cotton and keep the lights to a warm, low setting. The whole thing becomes a safe, cozy nightlight.
For a reading nook, make the vine extra long and add tiny crochet leaves in different shades of green. I like using a variegated yarn for the vine itself, it gives a more organic, overgrown look. Then drape it along the edge of a bookshelf or around a floor lamp. The light bounces off the pages nicely.
As a handmade gift idea, this is a winner. Put together a little kit with the finished vine, a set of fairy lights, and a handwritten card about how long it took you. People genuinely treasure handmade light decorations more than a store-bought lamp. I’ve made three as gifts already. One for my sister’s dorm room, one for a friend’s new apartment, and one that just got passed to a neighbor who has a whole cottagecore shelf.
The whole project takes about three evenings, but most of that is just making flowers while watching reruns. Honestly, it’s the kind of craft that feels productive even when you’re half watching TV. And the payoff is that soft, magical glow that makes your room feel like a storybook.
So grab your hook and a skein of cream yarn. Make a few flowers, wrap them around a string of lights, and turn on that warm little glow. Your bedroom will feel cozier by the minute, and you’ll have something handcrafted that no store could replicate. I’d love to hear where you end up hanging yours, and if you find a spot that works even better than a headboard, tell me about it.
Leave a Comment