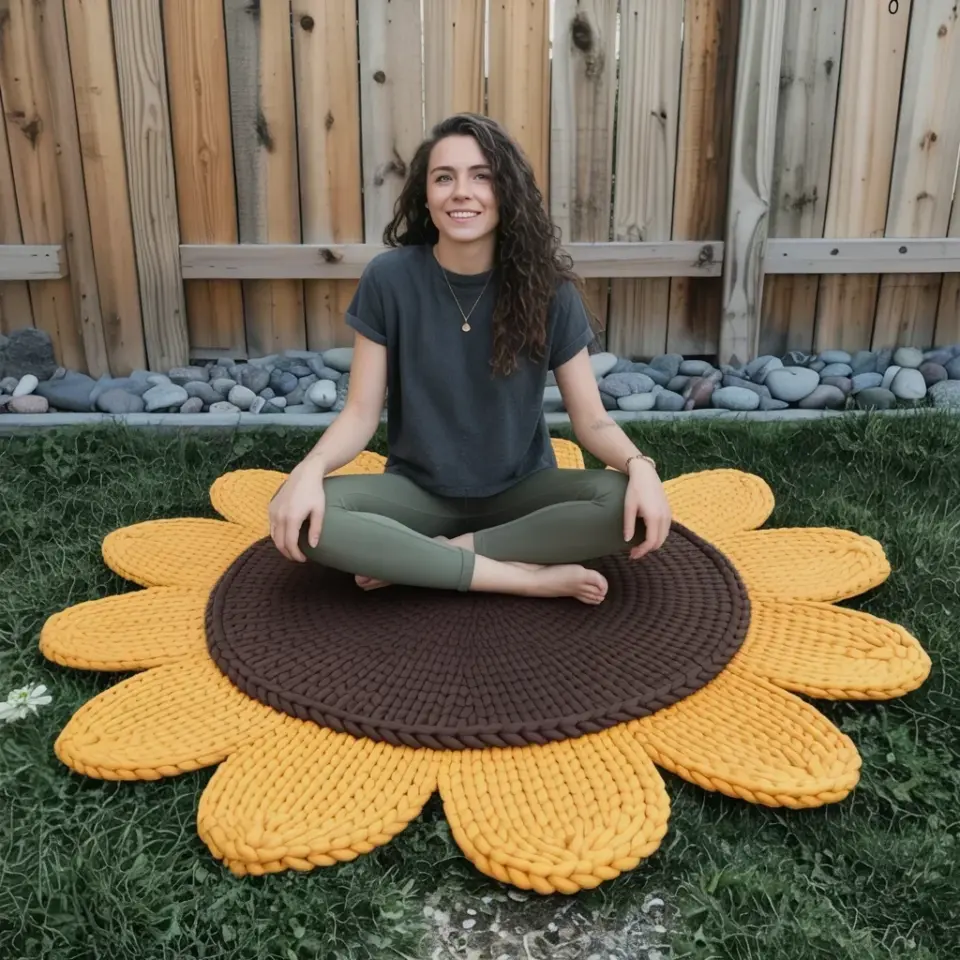
I finally sat down and made a chunky knit blanket tutorial for myself after months of saving photos on Pinterest and convincing myself it would be too hard. The truth is I wasted a lot of time overthinking it. Arm knitting a throw takes maybe two hours tops and uses materials you can find for under forty dollars if you shop smart. This guide walks you through the whole process with a focus on keeping costs low and results cozy.
Why Arm Knitting Saves You Money on Chunky Blankets
Store bought chunky knit throws can run you anywhere from eighty to two hundred dollars depending on the fiber and brand. Making one yourself cuts that cost by more than half. Arm knitting also means you do not need to buy knitting needles or any special tools. Your own two arms do all the work.
Another money saving perk is control over the yarn quality. You can choose a wool blend that lasts for years instead of paying a premium for a brand name label. If you mess up a stitch you just pull it out and start again with zero waste. That flexibility alone makes this DIYblanket project worth trying.
Choosing an Affordable Chunky Yarn for Your DIY Blanket
The biggest expense in any chunkyyarn project is the yarn itself. Super bulky weight category 6 yarn is what you need for arm knitting. I have tested a few budget friendly options that work beautifully without breaking the bank.
- Polyester or acrylic blends cost around four to six dollars per skein. They are soft, machine washable, and come in dozens of colors. A throw requires about four to five skeins.
- Wool blends cost a bit more but offer better warmth and breathability. Look for sales at big box craft stores or check discount bins. I once found merino blend cones for half price and used those.
- Thick roving yarn looks gorgeous but it is fragile. For a budget friendly option I recommend avoiding pure roving and going with a twisted super bulky yarn instead. It holds up better to everyday use.
My personal go to for a first project is a polyester wool blend from a craft store brand. It feels nice against skin and does not pill as fast as pure acrylic. Always buy an extra skein just in case you run short.
Step by Step Casting On for Beginners
This knittingtutorial starts with the simplest cast on method for arm knitting. Lay the yarn tail on your palm and wrap it around your thumb to form a loop. Slide that loop onto your right wrist. Repeat until you have ten to twelve loops depending on how wide you want your throw.
For a standard lap blanket about forty inches wide you need ten loops. For a full size throw I use twelve loops. Keep the tension loose on your wrist. Tight loops make the whole process harder and the final fabric stiff. If your loops feel snug just slip them off and start again with more slack.
Once you have your loops on one arm you are ready to knit the first row. Hold the working yarn in your other hand and pull it through each loop from back to front. Slide the old loop off and keep the new loop on your wrist. That is one full row done.
The Arm Knitting Pattern That Uses Less Yarn
Most tutorials tell you to knit every row in a simple garter stitch. That works fine but it eats yarn fast. I prefer a modified pattern that creates a looser weave and uses roughly twenty percent less yarn. Knit one row normally then on the next row knit through the back loop instead of the front. This small change creates a taller stitch that stretches further.
You can also try knitting every other row with a looser tension. Pull the yarn through gently without tightening the loop against your wrist. The resulting fabric has more drape and feels lighter on your lap. That makes the blanket feel bigger without using extra material.
Knit until the piece measures about fifty inches in length or until you run low on yarn. I always stop with two full skeins left to ensure I have enough for binding off and any adjustments. Measure as you go so you do not guess wrong.
Binding Off Without the Bulk and Waste
Binding off is where many beginners get frustrated because the edge can turn out tight and bulky. The trick is to bind off loosely using a simple two stitch method. Knit two loops onto your right arm. Lift the first loop over the second loop and off your wrist. Knit another loop onto your arm and repeat the lift over step.
Pull each loop gently as you lift it over so the edge stays stretchy. If you pull too tight the blanket will curl at the ends. I like to leave a six inch yarn tail after the last loop and weave it back through the edge stitches with my fingers. That hides the end without needing a needle.
For a neat finish you can also add a simple fringe using leftover yarn scraps. Cut eight inch strands and fold them through the edge loops. That uses up small bits of yarn and gives the throw a handmade touch. It costs nothing extra.
Budget Friendly Ways to Finish and Style Your Cozy Throw
Your cozyknitdecor piece does not need fancy accessories to look good. A simple drape over the arm of a sofa or folded at the foot of a bed adds texture without clutter. I personally like to pair mine with a plain cotton blanket underneath for extra warmth on cold nights.
If you want to style it for photos or a room refresh, try these low cost ideas. Lay the blanket flat and fold it into a rectangle for a clean look. Drape it unevenly over a chair corner for a relaxed vibe. Add a single throw pillow in a contrasting neutral color to balance the chunkiness of the knit.
Washing your blanket correctly also keeps it looking nice. Most acrylic and polyester blends are safe to machine wash on cold and tumble dry on low. Wool blends need hand washing in cold water with a gentle soap. Lay them flat to dry to avoid stretching the stitches. Proper care means you do not have to replace it for years.
Common Mistakes That Waste Money and How to Avoid Them
The most expensive mistake is buying too much or too little yarn. Always check the yardage on the label and calculate based on the size you want. A typical forty by fifty inch throw needs about 120 to 150 yards of super bulky yarn. That is roughly four to five skeins depending on the brand.
Another mistake is using yarn that is too thin. If you use a weight 5 bulky yarn instead of weight 6 super bulky your blanket will come out smaller and stiffer. You will need more skeins to reach the same size which costs more. Stick to the chunkiest option you can find for the best result.
Finally do not rush the binding off step. A rushed edge looks sloppy and may unravel over time. Take your time and check each loop as you go. A neat edge makes the whole blanket look polished even if the middle has a few uneven stitches. Imperfections are part of the handmade charm anyway.
That is really all there is to it. Arm knitting a chunky throw is one of those projects that looks impressive but takes very little skill. Grab a skein of affordable super bulky yarn, find a cozy spot on the couch, and give it a try. You will have a warm blanket to show for your afternoon and a new skill you can use again for gifts or home decor. If you make one I would love to hear how it turns out. Drop a comment below or tag me in your photos. Happy knitting.
#chunkyknitblanket #DIYblanket #knittingtutorial #cozyknitdecor #chunkyyarn
Leave a Comment