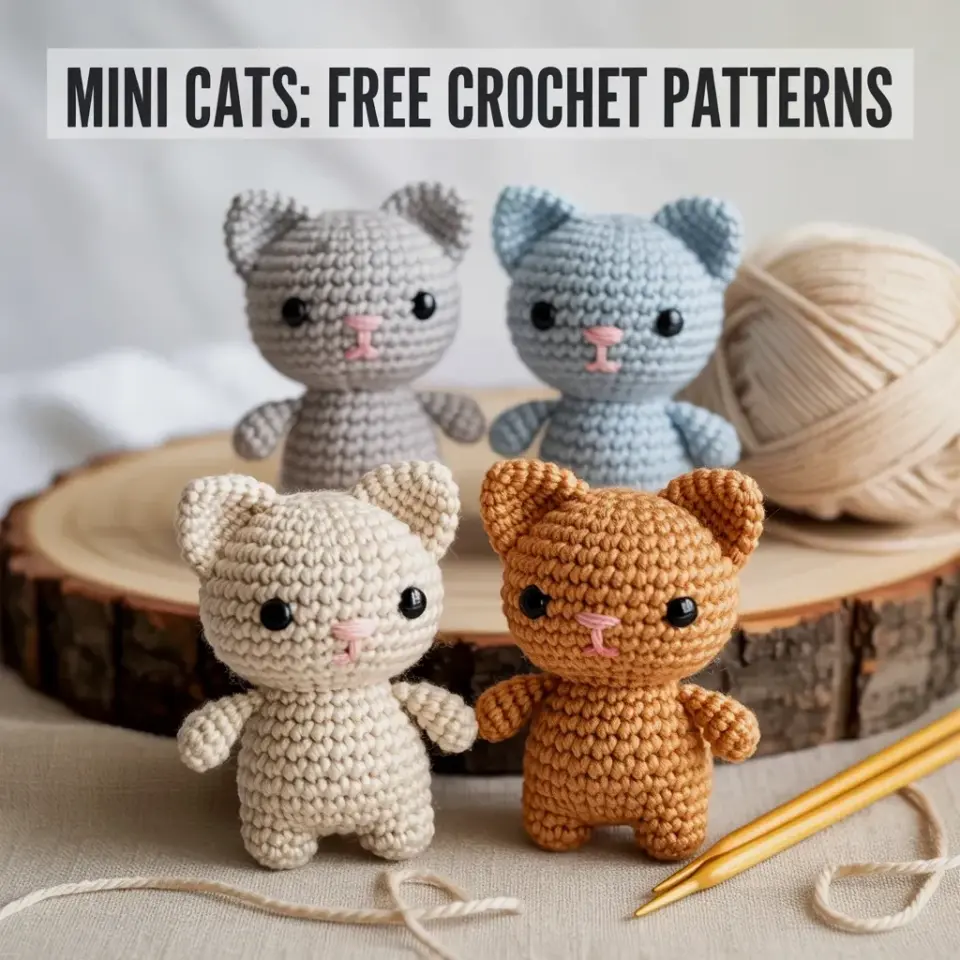
Four little cats sitting on a beige linen cloth, two in front, two behind. The cream one looks smug, the orange-brown one seems confused, and the gray and blue ones are politely ignoring each other. The black text overlay in the photo says “MINI CATS: FREE CROCHET PATTERNS,” and that is exactly what these are. I made a whole litter of these mini amigurumi cats using leftover yarn scraps from old projects, and honestly, free crochet cat patterns like this one are the best kind of pattern because they cost almost nothing and come together in an afternoon.
The Scrap Box Just Became a Cat Shelter
Last month I found a tangled ball of powder blue yarn in a bag of old dishcloths. It was too small for a blanket, too random for a scarf, so it sat in a basket for almost a year. Then I made a tiny cat out of it. That is the whole appeal of mini amigurumi. You can turn the scraps you feel guilty about throwing away into something cute enough to sit on your desk and judge you.
Here is what to save for scrapyarncraft projects:
- Any worsted weight cotton or acrylic yarn, even pieces over 6 inches long
- Ends of skeins that are too twisted for anything else
- That one oddball color you bought on sale and never matched
- Leftover black thread for whiskers and mouths
- Old pillow stuffing or fabric scraps for filling
The Crochet Cat Stash That Actually Works
For these mini cats, you need a 2.5 mm or 3 mm hook, small scissors, a darning needle, and some stuffing. That’s it. I like a 2.5 mm hook with worsted weight yarn, because the stitches stay tight and the stuffing does not peek out. If you use thinner yarn, go down to a 2 mm hook.
Look at the photo again. The cream and orange-brown cats in the front row are about 6 cm tall. The gray and blue ones in the back row are the same size, just shifted back enough to show their faces clearly. All four have simple embroidered features, which means you do not need to buy safety eyes or plastic parts. That keeps the entire project almost completely free.
Four Colors, One Basic Shape
I used cream, orange-brown, light gray, and powder blue, matching the photo exactly. The pattern itself is identical for all four, only the colors change. That is the clever part of the design. You start with a magic ring, work in continuous rounds to make a ball for the body, and then shape the cat with a few increases and decreases. The tail is a small chain worked in the round, and the ears are two little triangles crocheted directly onto the head or sewn on afterward.
Here’s the thing about mini amigurumi cats: the proportions are forgiving. If one cat comes out a bit fatter, it’s fine. If the ears are slightly crooked, that just makes them look more alive. My first attempt had one ear pointing sideways and the cat looked like it was listening to a secret. I kept it anyway, because that is how actual cats behave sometimes.
Embroider the Face, Add the Personality
The faces on these cats are not detailed. Black thread, a few straight stitches, done. The eyes are two little dashes, not circles. The nose is a tiny triangle, and the mouth is just two line stitches that meet in the middle. At least one cat in the photo has a mouth a little crooked, which honestly gives it a wise, slightly confused expression.
For a beginner, I recommend drawing the face on paper before you start embroidering. Mark three points on the head and keep them evenly spaced. Use a single strand of black embroidery thread or regular sewing thread, and do not pull too tight, because the head will pucker and this tiny cat can get a dimple that looks odd. If you pull a little tight anyway, no problem, the cat now has a story.
Sewing Tiny Parts Without Losing Your Mind
Use a longer yarn tail on the head so you can sew it onto the body. I leave at least 20 cm of yarn and run the needle through both pieces several times. The arms, if your cat has arms, are so small that you can skip attaching them separately and just sew them into the body seam. The tail is the only piece that might need extra care, because it can easily bend in the wrong direction.
Keep the tail straight and set it flat after crocheting. If it curls too much, just pull it out and redo it. Not gonna lie, I have frogged a single tail three times in one night because I was being stubborn. The final version was only six stitches long. It took maybe two minutes to redo, but I was annoyed at myself for being so picky.
One trick I learned: push a toothpick through the opening to get the stuffing into the head and paws. It sounds fiddly, but it actually works better than poking with a crochet hook. At 6 cm tall, these cats do not need much stuffing anyway. One generous handful per cat is enough.
Budget Crocheting Is the Whole Point
The most expensive thing in these four cats is probably the linen fabric under them in the photo. The yarn was all scrap. The stuffing was old pillow filling that had clumped up, so I decided to recycle it. A 3 mm hook costs a couple of dollars and lasts forever. Honestly, you can make this whole litter for less than the price of a coffee, as long as you also have coffee while you crochet.
If you do not have enough scrap yarn, check discount bins or ask friends for their leftover skeins. Crocheters are hoarders at heart, so somebody you know will have a bag of strange colors they are happy to give away. Also, any yarn can work, but smooth worsted weight acrylic is easiest for beginners. Wool is fine too, just be aware that it can felt together if you pull the stitches too hard.
Pin It Before You Lose Track
Save this post for your next yarn day, because these tiny cats are a perfect last-minute gift or a fun afternoon activity. You can make one in about 40 minutes if you have the pattern memorized. Make three and you have a little orphanage sitting on your bookshelf. Make nine and you should probably start a cat sanctuary in your craft room.
There is something very satisfying about using up every little scrap in
Leave a Comment